In this tutorial I’ll explain to you step by step how to start an email marketing list completely for free. I know that there is a lot of information out there that doesn’t really get to the point so I wanted to create this tutorial so that you can get started for free and in the right way. So without further ado, let’s jump right into it!
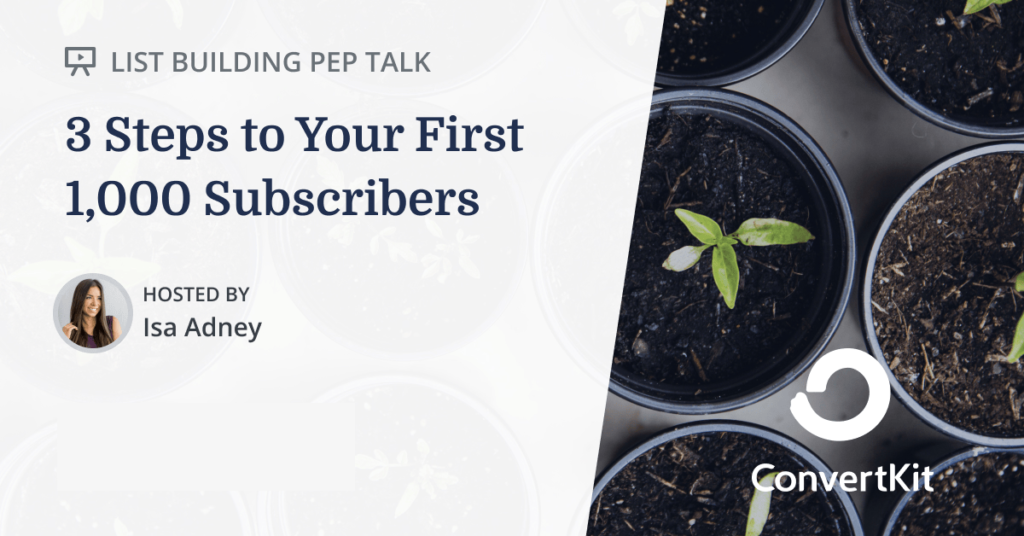
Email List Building Video Workshop
If you’re more of a visual learner, watch this free step by step video workshop by Isa Adney, Business Owner and Trainer at ConvertKit.
If instead, you like to read and follow along, continue here:
Choose an Email Marketing Service Provider
To start your email marketing list you first need to have a reliable email marketing service provider. There are many different out there, some more complicated, some less complicated. Usually you get 14 or 30 days for free and in order to continue using all you already did in these first 14 or 30 days, you have to pay. Otherwise you’ll lose your list if you didn’t save it beforehand. I don’t like that and I guess neither do you. So, to keep it simple in this tutorial, we’re going to use ConvertKit. It’s my all-time favorite email marketing tool, because of the following reasons:
- it’s easy to use and provides great user experience,
- it provides beautiful, ready-made templates,
- it makes the whole process of email marketing so much easier,
- they offer a free account for an unlimited time,
- and best of all: you can get up to 1000 subscribers on your list within the free account
That’s more than enough to start making money with your list. So first, create your free account on Convertkit and follow along with this tutorial!
By the way, if you’re a visual learner, check out this free list building workshop to learn how to get your first (or next!) 1,000 subscribers.
Try ConvertKit
ConvertKit is the only email marketing platform we use, and will ever use.
ConvertKit is our #1 recommended email marketing platform because it has been built with care to the exact needs of creators building online businesses. Their user experience is very user-friendly. And segmenting our subscribers into focused groups so that we can deliver content specific to their needs has never been easier. We’re all-in on ConvertKit.
Task: Create a Free Account on ConvertKit

The registration process is very easy. Go to ConvertKit and create your free account. Simply add your email and choose a password. Next, you’ll be asked to answer four questions in a quick survey. These don’t really matter for your future experience, it’s just information for ConvertKit to get a better understand of why people choose them as their email service provider.

After you’ve done that, make sure to have your account approved by clicking the link in the yellow banner on top so that you’ll be able to send emails through ConvertKit later on.
Prepare a Portal for People to Join Your List
Now you have your email provider on which you’ll be able to build your email list, that’s great! Time for the next step: Having people join your list!
Let’s talk about how people can actually do that because they surely won’t just magically appear. They need a place that they can go to in order to join your newsletter or email course.
There generally are two ways for people to join your email list:
- Subscribe through a form on your blog or website,
- subscribe through a designated landing page with the call-to-action to join your list.
Great news: If you don’t yet have your own website, that’s no problem! You can create beautiful landing pages completely for free! And you can create as many as you like. For now we only need one. So for the sake of this tutorial we’re going to create a landing page rather than a form because you may or may not have your own blog/website.
By the way, if you’re interested in creating your own blog, head over to WealthyAffiliate and learn how to do that for free (they even offer hosting).
Task: Create a Free Landing Page
In order to create your landing page, on your ConvertKit dashboard, click “Grow” in the menu on the top left and head to “Landing Pages & Forms”.


There, click on “Create a landing page”. Watch the demo if you like, it’s not necessary as the user interface is very clear.
Choose a Template
You’ll now be presented with a list of templates that you can choose from. They are all beautiful so just choose the one you like best or that matches your criteria. Click “Preview” to have a look at what the template looks like on desktop and on mobile.

If you found your preferred template, click “Choose” on the top right. For the sake of this tutorial, I’ll go with the template called “Hyde”.

Personalize the Content
Now you should be presented with a screen that looks like this:

You can personalize all the content on the page like text and images, just click the part you want to update.
Aim to write an headline that makes the visitor want to know what’s written in the body text. In the body text then get clear on the benefits of joining your email list or downloading your incentive, like a free PDF or a video wo watch.
In the side bar on the right you will find some settings you can update. For example you can add a background image, change the font and the colors of your page and text. Aim to stay minimalistic there. If you have brand colors, you can add them here.
When you click on the input form where your visitors can add their email address, you can choose to add more fields like the first name. I think it’s a good idea to capture the first name as well because it gives you the possibility to address your subscriber by name in your emails. In the beginning of your email list though, you might choose not to ask for the first name because it’s a lot easier for people to just give their email address without also filling out a second form field.
Edit the Landing Page Settings
In the top bar to the right you’ll find a menu item called “Settings”. We’ll now update them to change the General Settings and we’ll later come back to the “Incentive” tab.

In “General”, you can personalize the success message that’ll be shown after a visitor subscribed to your email list. Write something that tells them clearly what they should do next, like “You’re all set! Now head to your emails and find the PDF we just sent you.”
That is because you’ll want to have a Double Opt-in for your users (which is activated by default). Notice that we didn’t change that setting (that you’ll find under “Advanced”). Double Opt-in means that the user needs to give you permission again for you to be able to send them emails. That’s why your incentive email (that’ll be sent automatically) will have a button for the visitor to click in order to download the incentive and/or confirm their subscription. We’ll change the incentive emails’s content in the next section.
When you’re done, click the “Save” button on the bottom left and we’ll continue with the incentive.
Prepare Your Incentive
Okay, your landing page is almost done. The content on your page should now state why the visitor should want to join your email list. To make people want to join, they usually get offered an incentive which can be something of value to the reader.
That could be:
- a pdf or ebook
- the newsletter itself
- an email course (a list of emails that’ll teach something of value)
- a paid newsletter (you can do that inside of ConvertKit as well)
- a membership
- etc.
One of the most common incentives is a free PDF that the visitor will get in exchange for their email address. That’s a great way to get people to sign up! But there’s one big mistake that people with a new email list often make:
Creating an incentive of low value just to get email addresses fast
That’s a stupid idea. But I know exactly why people’d do that, I’ve been there. We all want success fast. However, it’s better to spend some time on preparing an offer that actually benefits someone visiting your page.
My advice to you first of all is: breathe.
There’s no rush. Usually we want to just get things done and just finally have success. But that’s not how things work.
Here’s a bird’s eye view of how people will actually subscribe to your email list:
- The visitor visits your landing page and is presented with something that they truly, honestly want.
- They think “Okay, just an email address for that, that’s alright.”
- They enter their information and open the email to download whatever it is that you used as an incentive.
That’s how it works. If you’re stuck here, I’d advise you to read about niche marketing here to get to know your audience better or just use the perceived value of your newsletter and what you’re going to talk about and recommend that on your landing page.
If you have an idea for a free PDF like a listicle, recipes or a fact sheet, you can create that on canva.com. The PDF doesn’t have to be long, one or two pages is sufficient. Just, as I said, aim for value.
Now, we talked a lot about incentives. Let’s go on with out tutorial and finish the next task, which is to upload your incentive and edit the incentive email’s content.
Task: Edit the ‘Incentive’ Page in the Settings and Customize the Incentive Email

Head back to the settings on the top right. Then click the “Incentive” tab. If you have a PDF or another file prepared, click “Download” under “After confirming redirect to:”. You can then upload the file. It’ll take a few seconds and then your file is uploaded.
Next, you’ll want to change the content of your incentive email. To do that, click “Edit Email Contents”.

There you can now enter a new subject line and new text inside of the email. You can also change the button text and it’s color. But don’t change the URL which says “{{ confirm_url }}”. This will enter the URL automatically that let’s your new subscriber download your incentive and/or finish the double opt-in.
Once you’re done, click “Save”.
Congratulations, you’re all set!
Get Traffic to Your Landing Page
Now it’s time to get some traffic to your landing page so that people can see your offer and subscribe to your mailing list!
This is the most critical part because without real people to join, your list will stay empty. So you’ll spend some time to get more eyes on your landing page.
First, click “Publish” in the upper right corner in ConvertKit. This will give you a link that you can then copy and share with others. If you want a more beautiful or shorter link, go to bitly.com to shorten the link.

Share your Landing Page on Social Media
Now head over to your favorite social media websites like Facebook, Twitter or Instagram and let people know about your offer. Write a paragraph to let them know what you’re offering so that they’ll want to click the link.
You can also post the link in forums, Facebook Groups or anywhere on the internet really. Just please don’t spam it everywhere. Aim to post it where it’s relevant because people won’t click when it offers no value to them.
Create Pins on Pinterest
You can also create Pins on Pinterest that link to your landing page. To create beautiful pins, again you can use canva.com. They offer a large library of templates ready for use. With Pinterest, you’ll gain more exposure the more pins you put out.
To do that, I use automation platform called Tailwind which is an official partner for Pinterest and Instagram. In the free plan, you can automate up to 30 pins a month.
Link from Your Website or Blog to Your Offer
If you have a website or a blog, you may or may not want to create a landing page. You can also create a form instead of a landing page when your website already has regular traffic on it. People can then opt in to your email list directly from your website without having to go to a separate page. The process is the same, just choose “Form” instead of “Landing Page” when you click “Create new” on ConvertKit.

After you’re done, you can then either embed the form through a HTML code or download the ConvertKit plugin if you’re using wordpress.
This is a Long Term Process, so Keep Going!
As I said, you’ll want to keep spending time to have people coming to your new landing page regularly. So keep on talking about it on social media and in forums like Reddit or Quora. Just don’t overdo it and aim to contribute to the conversation.
Start Sending Out Emails Regularly
When your email list starts to get some subscribers, it’s time to start sending out emails to them. Try to keep a schedule and publish new emails regularly. You can do so by clicking “Send” in the ConvertKit menu and choose “Broadcasts”.

From there, you can write your emails and publish them. To start a new email, just click “New Broadcast” on the top right and you’re ready to write. Also notice that your emails will be saved inside the platform so whenever you need one of your evergreens to be sent out again or add it to an automation for new subscribers, you can always find it again.

You can even do A/B tests and have 50% receive one version of the email and 50% receive another version to test out which performs better. In the beginning that won’t be necessary but the more subscribers you get, the more you’ll want to test what converts best.
Prepare Your Email Automation
If you’ve completed all of the tasks above, you should be getting new subscribers soon. You may not want to send individual emails every time someone new signs up to your mailing list but instead, have a fixed set of multiple emails that get sent out automatically over a specified time span whenever someone new subscribes to your email list.

This is something that you can only do if you’ve subscribed to ConvertKit’s Creator plan which is $15 a month. Considering all the possibilities you’ll have included in the Creator plan I think $15 is a killer price! But in the beginning, you might not need it. Just know that when you’re ready, this platform will do everything that you want it to and do it well.
This is what visual automation looks like on ConvertKit. It’s easy to understand and easy to edit. When you have new subscribers coming in regularly you might not want to start over and send emails manually every time, be sure to check it out!

It’s really easy to set this up thanks to their great user interface and visual representation of the automation process. If you’re interested in a tutorial on how to automate your emails, leave a comment below and let me know!
Conclusion
That’s about it. In this tutorial we covered how to set up an account in one of the best email marketing service providers, how to create your own landing page completely for free, how to get people to come to your landing page and how to send out emails. I hope this article brought lots of value to you and you now have a better understanding of how this works. If you followed the steps and completed the tasks, you now have your own email list up and running.
If you didn’t follow the steps and you only read them then please – be an action taker, not an action faker! Create your account right now and follow the tutorial step by step.
That’s it for today! How did you like this tutorial? I’m very interested in getting your opinion. So if you have any comments or questions, let me know in the comments section below!
To your success!
Try ConvertKit
ConvertKit is the only email marketing platform we use, and will ever use.
ConvertKit is our #1 recommended email marketing platform because it has been built with care to the exact needs of creators building online businesses. Their user experience is very user-friendly. And segmenting our subscribers into focused groups so that we can deliver content specific to their needs has never been easier. We’re all-in on ConvertKit.

Leave a Reply